
![]()
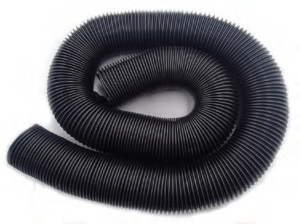
Duct hose as supplied with a Vintage Air system.
Duct hoses are an essential part of your Vintage Air system. The duct hose transports the air from the blower in the evaporator sub case to the vents on, above, and under the dash, so proper installation and routing is a must!
When you receive your system from Vintage Air, it will typically arrive with one or more continuous lengths of duct hose as shown. Thus, it will be necessary for the installer to measure and cut each hose to the appropriate length. The amount of duct hose shipped with the system should be sufficient for a complete installation. However, routing preferences may vary and, if needed, additional duct hose is available from Vintage Air.
Before doing any cutting, use the instructions supplied with your evaporator kit to determine the routing path for each of the hoses. Remember, drops, bends and kinks are all obstructions that inhibit the flow of air, so plan as straight a routing path as possible between the evaporator sub case and the vents. Where bends in the duct hose are necessary, ensure that they are smooth and gentle, in order to maximize airflow.
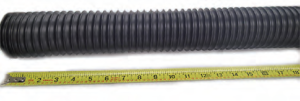
Stretch, measure, mark and cut.
Once the routing path has been determined, measure the distance between the outlets on the duct and the evaporator sub case. Then, stretch the duct hose as tight as possible, and measure, mark and cut the hose to the appropriate lengths.
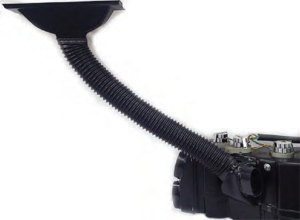
Duct hose after routing and installation.
When the duct hose has been installed, the end result should appear as shown. The hose should be stretched tight, with as little slack and as few bends as possible, for a clean, tight path between the evaporator sub case and the vents that will keep your hot rod cool all summer long!